The store will not work correctly in the case when cookies are disabled.
We collect user information to provide a better user experience and protect the security of our website. By continuing to use our website, you acknowledge the use of cookies.
Step 1: Collect Tools Phillips head screwdriver Flat head screwdriver Nut driver Electrical tape Wire cutter
Step 2: Detach Old Control Board Assembly The screws that hold the back cover of the conditioner in place must be extracted using the Phillips head screwdriver. The screws must be stored in a secure spot, as they will be needed later.
The flat head screwdriver and/or nut driver must be employed to gently disconnect the wires linked to the old control board assembly. The wire colors must be noted for proper reattachment of the new control board assembly later on.
After the wires are disconnected, the screws fastening the control board assembly to the conditioner must be taken out using the screwdriver. Once the screws are removed, the old control board assembly should come off without difficulty.
Step 3: Set Up New Control Board Assembly Prior to placing the new control board assembly, it must be ensured to be securely positioned within its housing. If it is not, the Phillips head screwdriver must be used to firmly fasten it in place.
Step 4: Insert New Control Board Assembly The Philips head screwdriver must be employed to mount the new control board assembly into the conditioner. The screws must be tightened adequately to keep it secure.
After the new assembly is in place, the electrical tape from the wires must be removed using the wire cutter. Each wire must be connected to the corresponding terminal on the new control board assembly, ensuring that the wire colors correspond with the terminals. Once all wires are attached, electrical tape must be used to cover the connections for additional protection.
Step 5: Reattach Back Cover After the new control board assembly is positioned, the Phillips head screwdriver must be utilized to fasten the back cover back onto the conditioner.
Step 6: Verify Functionality After the back cover has been reattached, power must be restored and a check must be made to confirm the new control board assembly is operating correctly.
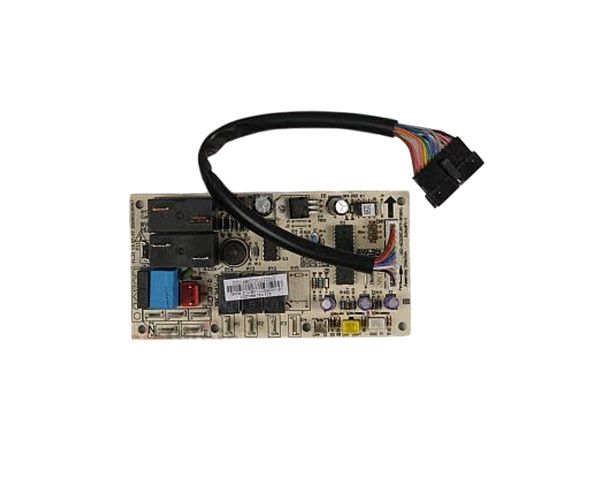
Well done! Your 17120300000542 conditioner main control board assembly has been successfully replaced.
Please remember, these instructions serve as general guidance and should always be used alongside the manufacturer's manual, if available.