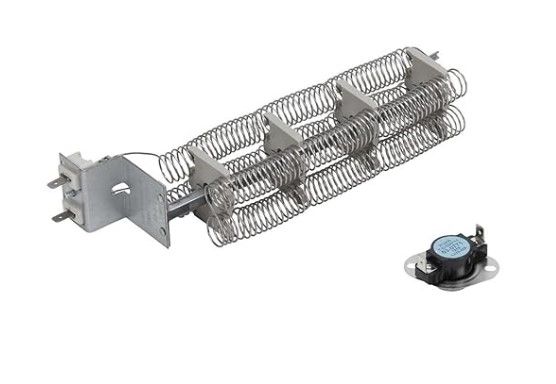
Whirlpool LA-1044 Dryer Hi Limit Heating Element Kit
Special Price
$26.25
Regular Price
$49.77
In stock
Available Quantity:
571
SKU
LA-1044
Product Description
The Whirlpool LA-1044 Dryer Hi Limit Heating Element Kit is installed on the inside of residential machines to control and maintain the internal temperature of an appliance, during the drying process. This kit is a thermal limiter and heating element assembly, which makes sure that it heats well without exceeding safe temperatures. It works by passing electrical current through a heating element to heat it and the high-limit thermostat in it measures the internal temperature.
Manufacturer
