Whirlpool JGA8100ADB Range Cooktop Burner Module Assembly
Special Price
$399.60
Regular Price
$448.95
In stock
Available Quantity:
89
SKU
JGA8100ADB
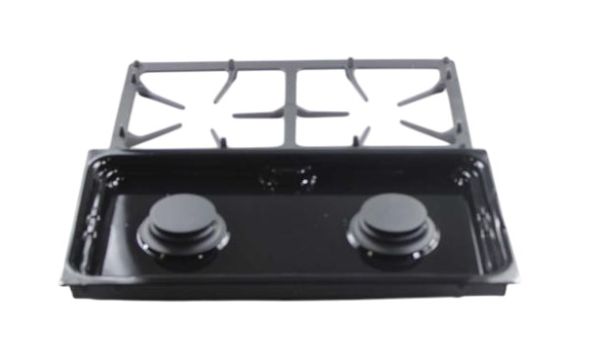
Product Description
The Whirlpool JGA8100ADB Range Cooktop Burner Module Assembly provides efficient and consistent heat distribution for precise cooking performance. Designed for easy installation, it seamlessly connects to compatible Jenn-Air cooktops, delivering steady flames for various cooking needs. Featuring a durable construction, it ensures long-lasting reliability while maintaining optimal heat control. The module includes a smooth ignition process, allowing burners to light quickly and operate efficiently. Its design enhances cooking flexibility, making it suitable for different cookware sizes. With steady heat output and dependable functionality, this burner module improves cooking efficiency while reducing energy waste. Ideal for maintaining a well-functioning cooktop, it offers a practical solution for replacing or upgrading an existing unit without complications.
11.85"X10.65"X5.15"
Manufacturer
