The store will not work correctly in the case when cookies are disabled.
JavaScript seems to be disabled in your browser.
For the best experience on our site, be sure to turn on Javascript in your browser.
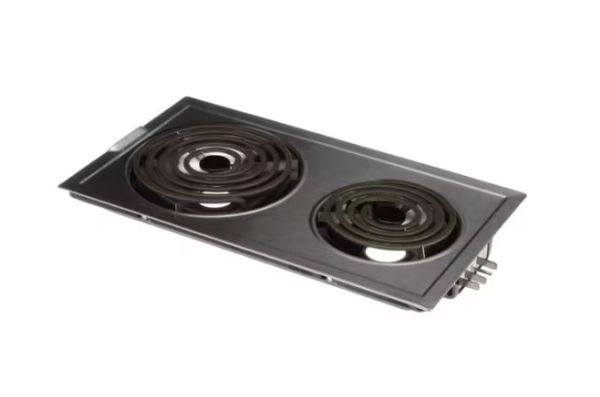
Whirlpool JEA7000ADSA Range Stove Cartridge Assembly
Special Price
$186.00
Regular Price
$275.82
In stock
Available Quantity:
115
Product Description
The Whirlpool JEA7000ADSA Range Cooktop Burner Module functions by regulating gas flow to the burner, ignited by an electric spark, creating a controlled flame. The module ensures even heating through its precisely engineered design, distributing the flame uniformly across the burner surface. This results in efficient cooking, minimizing hot spots and providing a more predictable cooking experience. The benefits include improved cooking precision and longevity of the cooktop, enhancing overall kitchen functionality.
✓ This Product Replaces:
A100 , JA100 , JEA7000ADS
https://www.hnkparts.com/media/catalog/product/j/e/jea7000adsa-48714.jpg
Manufacturer Name: WHIRLPOOL Product Number: JEA7000ADSAOEM Part Number: JEA7000ADSAProduct Description: Module
Choose the best Home Appliance parts and supplies from HnKParts ! Have More Questions or Need Help to Place The Order?(866)723-0907 or [email protected]
Installation Steps
Step 1: A #2 Phillips screwdriver should be utilized to take out the screws securing the rear panel of the cook top.Step 2: After the screws are taken out, the panel should be gently lifted away from the appliance and set aside.Step 3: With the panel now removed, the cartridge module should be accessed.Step 4: It should ensure that the power supply to the cook top is disconnected before work on the cartridge module is proceeded with.Step 5: With the power turned off, an adjustable wrench should be employed to detach the water supply line from the cartridge module.Step 6: The electrical wires linked to the cartridge module should be disconnected.Step 7: The adjustable wrench should be utilized to loosen and take off the nuts that secure the cartridge module in position.Step 8: Once the nuts are taken off, the old cartridge should be gently extracted and disposed of.Step 9: The new cartridge module should be inserted into the designated opening.Step 10: The nuts should be reattached and the cartridge should be firmly secured to the appliance.Step 11: The electrical wires should be reconnected to the cartridge module.Step 12: The water supply line should be reconnected to the cartridge.Step 13: The rear panel should be replaced by aligning the screws and tightening them with the #2 Phillips screwdriver.Step 14: The power should be switched back on and the unit should be checked to ensure it is functioning correctly.