Whirlpool JEA7000ADBA Cooktop Cartridge Assembly
Special Price
$200.87
Regular Price
$252.67
In stock
Available Quantity:
112
SKU
JEA7000ADBA
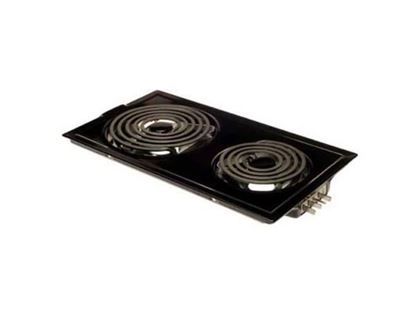
Product Description
The Whirlpool JEA7000ADBA Range Cooktop Burner Module in black efficiently delivers consistent heat for precise cooking performance. Designed for easy installation, it connects seamlessly to compatible cooktops, providing a stable and even heat distribution. The module operates by channeling controlled energy to the burner surface, ensuring efficient heating while minimizing energy waste. Its smooth surface allows for quick heat transfer, reducing cooking time and enhancing temperature control. With durable construction, it withstands frequent use while maintaining performance. The sleek black finish complements modern kitchens, while its ease of cleaning simplifies maintenance. Ideal for replacing or upgrading an existing module, it enhances cooking efficiency and reliability for everyday meal preparation.
Manufacturer

✓ This Product Replaces:
A100B, A100W, JEA7000ADW, JEA7000ADB, JEA7000ADWA, JEA7000ADW