
The store will not work correctly in the case when cookies are disabled.
We collect user information to provide a better user experience and protect the security of our website. By continuing to use our website, you acknowledge the use of cookies.
In the Observance of Memorial Day No Shippings or Deliveries on Monday, 05/25. Second day air orders on 05/21 and next day air orders on 05/22 will be delivered on Tuesday, 05/26.
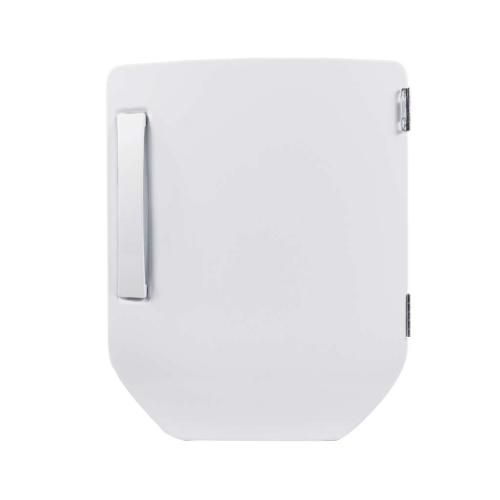
The General Electric WE10M150 Dryer Door Assembly provides a secure and efficient closure mechanism, ensuring optimal performance. Designed to fit seamlessly, it allows smooth opening and closing while maintaining an airtight seal to prevent heat loss. The sturdy construction supports consistent airflow regulation, enhancing drying efficiency. Its durable materials resist wear and contribute to long-term reliability. A well-fitted door assembly helps maintain energy efficiency, reducing drying time and utility costs. With a hassle-free installation process, it restores functionality without complex adjustments. This component enhances safety by keeping the drum enclosed, minimizing lint escape and improving overall performance. Ideal for maintaining proper operation, it ensures a dependable drying experience with improved convenience and durability.
What maintenance is required for the General Electric WE10M150 Door Assembly?
Wipe the door surface regularly to remove lint and detergent residue. Inspect hinges and latches for smooth operation. Ensure proper alignment for a secure closure. Avoid slamming to prevent structural pressure and maintain efficient sealing during operation.
What are common issues with the General Electric WE10M150 Door Assembly?
Door failing to latch securely.
Excessive vibration during operation.
Misalignment affecting closure.
Loose hinge connections.
Installation Steps
Step1: Unplug the dryer and open the door to access the hinge screws.
Step2: Support the existing door while removing the mounting screws.
Step3: Lift off the old door assembly from the hinge brackets.
Step4: Align the new door with the hinge slots accurately.
Step5: Secure screws tightly to ensure proper alignment and stability.
Step6: Restore power and verify smooth opening and secure latching.
