
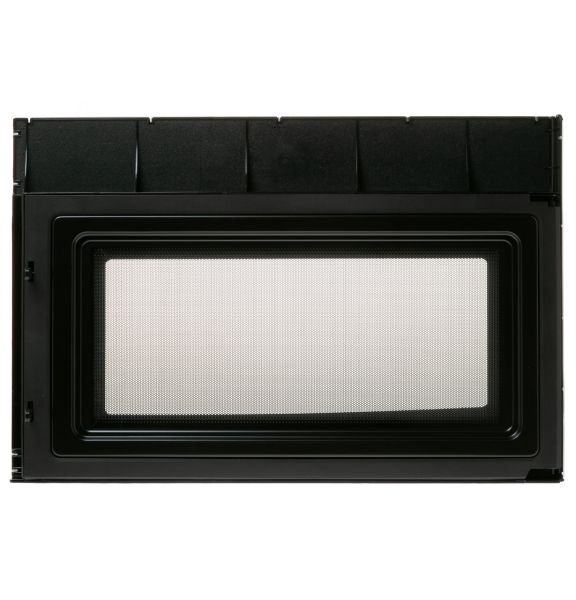
General Electric WB56X44648 Microwave Door With Silk Screen GE Logo Stainless Steel

Special Price $137.31 Regular Price $157.95
In stock
Available Quantity:   15
SKU
WB56X44648

Product Description

The General Electric WB56X44648 Oven Door Assembly functions by sealing the oven cavity, preventing heat loss and maintaining consistent cooking temperatures. Designed with precision, it features a sturdy frame and a transparent viewing window, allowing easy monitoring of food without opening the door. The robust construction enhances durability, while the stainless steel finish adds a sleek look and resists corrosion. Its well-engineered design promotes energy efficiency by reducing heat escape, leading to even baking and roasting results. Easy to install and maintain, this replacement part restores the oven’s performance, extending its lifespan and maintaining optimal functionality.
Manufacturer

✓ This Product Replaces: WB56X25417, WB56X30400, WB56X32913
https://www.hnkparts.com/media/catalog/product/w/b/wb56x44648.jpg
Write Your Own Review
You're reviewing:General Electric WB56X44648 Microwave Door With Silk Screen GE Logo Stainless Steel
Your Rating
Customer Questions
What maintenance is required for the General Electric WB56X44648 Door?

Regularly wipe the microwave door with a soft, damp cloth to remove grease and fingerprints. Avoid abrasive cleaners that can damage the silk screen logo. Inspect hinges and seals for proper alignment. Cleaning ensures better operation and preserves appearance.

What are common issues with the General Electric WB56X44648 Door?

  • Hinges may loosen, causing alignment issues.
  • The door seal can wear, reducing efficiency.
  • Silk screen logo may fade or scratch.
  • Door latch may fail, preventing proper closing.

Installation Steps

Step1: Disconnect microwave from power supply completely to avoid electric shock.

Step2: Remove mounting screws securing old door hinges carefully.

Step3: Detach old door assembly from hinge brackets.

Step4: Align new door with hinge slots.

Step5: Secure screws evenly without over-tightening.

Step6: Test door opening/closing and latch function.

Step7: Restore power and ensure proper sealing securely.

Step8: Wear gloves and ensure unit is cool before installation.