Step 1: The power cord should be disconnected from the wall outlet. If gas is operated on by your appliance, the gas line should also be ensured to be turned off.
Step 2: The inner oven door should be gently detached. To achieve this, the door should be opened and the bottom edge should be carefully lifted until the top hinges are disengaged from their slots. A flathead screwdriver may be required to assist in prying them out. Once free, the door should be lowered cautiously and placed aside.
Step 3: The screws on the exterior of the oven frame that secure the outer door should be identified. These screws might be visible from the oven's exterior or concealed beneath a plastic cover. A Phillips head screwdriver should be utilized to take out the screws.
Step 4: The old door should be delicately drawn away from the oven. The frame should be examined to confirm there are no additional screws, hinges, or hardware that must be removed before continuing.
Step 5: The new outer door should be positioned and fastened using the screws that were previously removed. It should be confirmed that the door is securely attached and all screws are tightened.
Step 6: The inner door should be reattached, making certain that the hinges are aligned correctly with their slots on the oven frame.
Step 7: Any plastic covers should be reinstalled and the power cord should be reconnected to the wall outlet or the gas line should be turned back on.
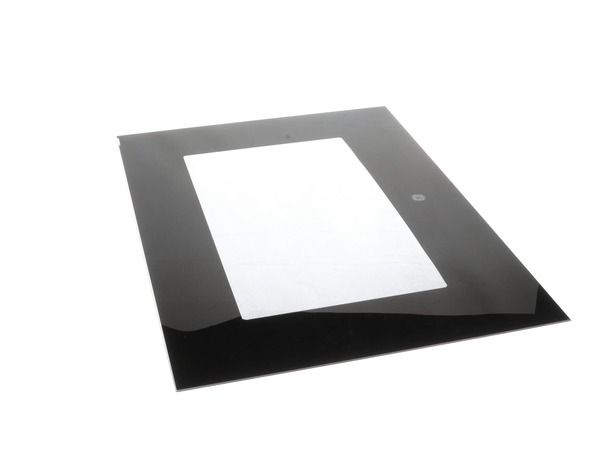
Your newly installed GE WB56X26637 Glass Oven Door should now be securely in position, offering a refreshed and modern look to your over-the-range unit.
Please note, these instructions should be served as general guidance and should always be used alongside the manufacturer's manual, if available.