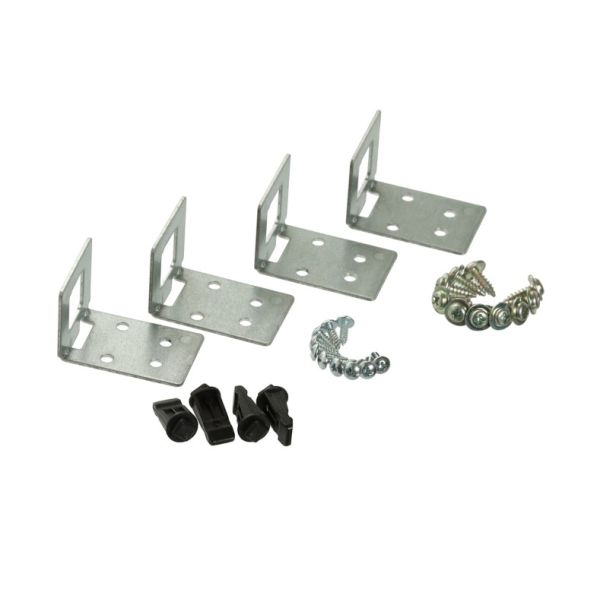
Panasonic F107S9P00FPS Microwave Trim Parts Kit

Special Price $42.57 Regular Price $42.95
In stock
Available Quantity:   17
SKU
F107S9P00FPS

Product Description

Panasonic F107S9P00FPS Microwave Trim Parts Kit is used to improve the looks and performance of a microwave trim. This kit offers a smooth and effective look by filling any gaps around the microwave and making it blend well with the cabinetry. It operate by locking the microwave and providing a smooth finish that matches the appearance of the kitchen. The main advantage is that it provides a more polished and integrated appearance without damaging the microwave stability and safety.
Stove & Oven Parts, Microwave Parts,
4.7"X5.75"X2.95"
Manufacturer
https://www.hnkparts.com/media/catalog/product/f/1/f107s9p00fps-41079.jpg
Write Your Own Review
You're reviewing:Panasonic F107S9P00FPS Microwave Trim Parts Kit
Your Rating
Customer Questions
What maintenance is required for the Panasonic F107S9P00FPS Trim Parts Kit?

Regularly inspect the trim kit for secure attachment and alignment to ensure it remains firmly mounted around the microwave. Clean the surface with a soft cloth and mild detergent to remove grease, dust, or debris buildup. Avoid abrasive cleaners that may damage the finish.

What are common issues with the Panasonic F107S9P00FPS Trim Parts Kit?

  • Loose or unstable fit due to improper installation or worn mounting clips.
  • Visible gaps or misalignment around the microwave frame.
  • Surface discoloration or fading from heat and prolonged use.
  • Cracks or warping in the trim material over time.
  • Rattling noises caused by insufficient securing or uneven mounting.

Installation Steps

Step1: Turn off microwave electrical power at the breaker and clear the installation area.

Step2: Measure microwave cavity and confirm old trim kit compatibility before starting.

Step3: Position new trim frame around the built-in microwave carefully.

Step4: Secure mounting brackets and screws firmly to the cabinet structure.

Step5: Restore power, then check alignment, ventilation clearance, and stability.

Step6: Ensure edges are flush and avoid sharp contact points for safety.