Electrolux 316531983 Range Main Cooktop Glass Black
Special Price
$356.03
Regular Price
$397.95
In stock
Available Quantity:
28
SKU
316531983
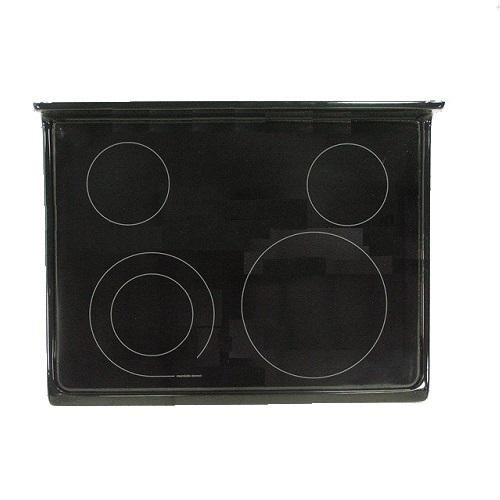
Product Description
The Electrolux 316531983 Range Main Glass Cooktop has a smooth black finish with a supporting surface holding pots and pans over the heating areas. It transfers heat uniformly with the help of radiant elements under the glass and detects the changes in temperature adjusting the power to hold the cooking settings.
Manufacturer