The store will not work correctly in the case when cookies are disabled.
We collect user information to provide a better user experience and protect the security of our website. By continuing to use our website, you acknowledge the use of cookies.
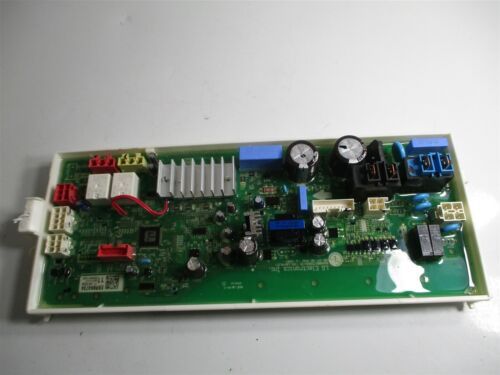
The LG EBR86473411 Dishwasher PCB Main Control Board is responsible for coordinating and controlling the important features. The dishwasher’s wash cycles, water usage, and drying duration are managed by the replacement PCB assembly through signals from internal sensors. It allows the dishwasher to function well and restores its operation when the control board stops working.
What maintenance is required for the LG EBR86473411 PCB Main Control Board?
To maintain this control board, ensure the dishwasher is protected from moisture and power surges. Regularly check wiring connections for looseness or corrosion. Keep the appliance interior dry to prevent damage. Always disconnect power before inspection to ensure safety.
What are common issues with the LG EBR86473411 PCB Main Control Board?
Dishwasher not powering on or responding.
Cycle interruptions or failure to start.
Error codes related to control failure.
Unresponsive buttons or display malfunction.
Inconsistent operation or failure to complete cycles.
Installation Steps
Step1: Disconnect power of dishwasher at the breaker to avoid electric shock.
Step2: Turn off water supply and pull the dishwasher out slightly.
Step3: Remove the front control panel screws and access the PCB housing.
Step4: Carefully disconnect wiring harnesses from the old board.
Step5: Replace with the new PCB, reconnect wires securely.
Step6: Reassemble panel, restore power, and test operation.