The store will not work correctly in the case when cookies are disabled.
We collect user information to provide a better user experience and protect the security of our website. By continuing to use our website, you acknowledge the use of cookies.
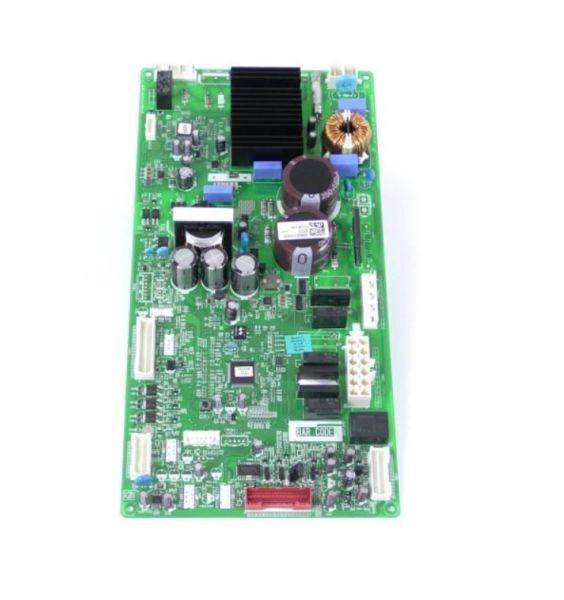
The LG EBR86093777 Main PCB Assembly is used for managing and coordinating the key functions of the refrigerator, such as temperature control, compressor and fan regulation, and internal operations. The use of different sensors enables the air conditioner to maintain better cooling efficiency.
Provides the central electronic control platform for supported refrigerator functions. The LG EBR86093777 Refrigerator Main PCB Assembly processes applicable operating inputs and produces corresponding electronic control outputs for connected components. Its PCB configuration forms the primary board-based control component within the refrigerator's electronic system.
Defrost Cycle Control:
Processes applicable operating information associated with the refrigerator's defrost sequence and generates corresponding electronic control outputs. These outputs coordinate connected components involved in supported defrost functions.
Replacement Guidelines:
Replacing the Refrigerator Main PCB Assembly is appropriate if it no longer performs its intended electronic control function or has physical damage affecting operation. Verify part number EBR86093777 and the complete refrigerator model number before replacement. Replace the PCB assembly if deterioration affects signal processing, control outputs, cooling, defrost operation, or electronic system response.
The LG EBR86093777 Refrigerator Main PCB Assembly should be matched with the specific LG refrigerator model and manufacturer part specifications before purchase. Verify that part number EBR86093777 corresponds to the existing control board and confirm the applicable refrigerator model and manufacturer documentation.
What maintenance is required for the LG EBR86093777 Main PCB Assembly?
Keep the PCB area clean using a soft brush or compressed air. Ensure all wiring connections are fully seated. Verify that temperature settings respond correctly, and test all compressor, fan, and dispenser functions for consistent operation.
What are common issues with the LG EBR86093777 Main PCB Assembly?
Temperature settings do not respond.
Compressor cycles irregularly.
Dispenser signals do not respond.
Fans run inconsistently.
What is the LG EBR86093777 used for?
The EBR86093777 provides centralized electronic control for supported refrigerator functions.
What does the main PCB assembly process?
The main PCB assembly processes electrical inputs from applicable refrigerator components and generates corresponding control outputs.
How does the main PCB assembly coordinate refrigerator functions?
It communicates electronic control outputs to connected components according to the refrigerator's operating requirements.
What role does the PCB assembly have in cooling operation?
The PCB assembly provides electronic coordination for applicable cooling-related functions within the refrigerator.
How does the PCB assembly support defrost operation?
It processes applicable operating inputs and provides electronic control outputs for supported defrost functions.
Installation Steps
Step1: Unplug the refrigerator for safety.
Step2: Open the control panel to access the old PCB assembly.
Step3: Disconnect all wiring connectors carefully, noting their positions.
Step4: Remove the old PCB and position the new assembly in place.
Step5: Close the panel, restore power, and verify proper operation.