The store will not work correctly in the case when cookies are disabled.
We collect user information to provide a better user experience and protect the security of our website. By continuing to use our website, you acknowledge the use of cookies.
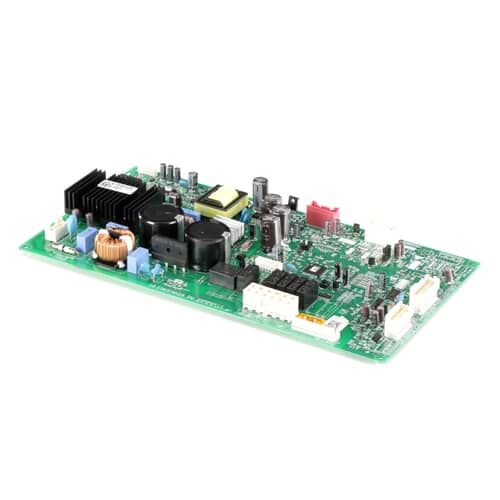
The LG EBR85624973 Refrigerator PCB Main Control Board controls the operations like temperature control, defrosting, and control of fans are managed. It takes inputs from the sensors and then controls the output to make the better out of it. This means that the refrigerator is effectively used to store food items and keep it fresh while at the same time using less energy. The control board is intended for the management of the compressor and other parts and provide more stable work.
What maintenance is required for the LG EBR85624973 PCB Main Control Board?
Keep the control compartment clean by wiping nearby surfaces with a dry cloth to reduce dust buildup. Ensure wiring connections remain properly seated. Maintaining a clean environment helps support stable communication between components and consistent cooling system operation.
What are common issues with the LG EBR85624973 PCB Main Control Board?
Cooling cycles start and stop unpredictably.
System commands fail to process correctly.
Temperature regulation becomes inconsistent.
Defrost timing activates irregularly.
Installation Steps
Step1: Unplug the refrigerator to ensure safety.
Step2: Remove the interior panel to access the old PCB.
Step3: Disconnect all wiring connectors carefully.
Step4: Unscrew and remove the old PCB assembly.
Step5: Mount the new PCB, reconnect wires, and secure screws.
Step6: Replace the panel, plug in the refrigerator, and test functionality.