The store will not work correctly in the case when cookies are disabled.
We collect user information to provide a better user experience and protect the security of our website. By continuing to use our website, you acknowledge the use of cookies.
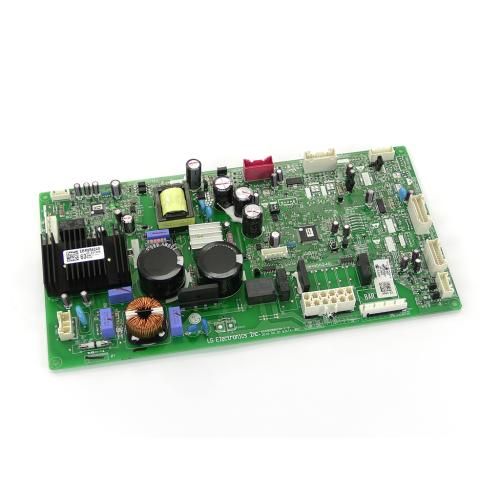
The LG EBR85624963 Refrigerator PCB Main Control Board controls the signals from the sensors, regulates temperature, and manages the work of the compressor and other components. Through continuous data processing from different sections of the refrigerator, it is able to maintain efficiency in its usage of power to ensure it operates at its better level. The advantages of this PCB include increased durability, better heat control and power control.
What maintenance is required for the LG EBR85624963 PCB Main Control Board (PCB Assembly)?
Keep the board area clean and dry. Wipe nearby surfaces with a soft, damp cloth to prevent dust accumulation. Ensure connectors are seated correctly to maintain smooth refrigerator operation and consistent temperature control.
What are common issues with the LG EBR85624963 PCB Main Control Board (PCB Assembly)?
Cooling inconsistent across compartments.
Fans not circulating properly.
Temperature settings not registering.
Defrost cycle not initiating correctly.
Installation Steps
Step1: Unplug the refrigerator to prevent electrical shock.
Step2: Carefully disconnect all wiring connectors from the old control board.
Step3: Unscrew and remove the old PCB assembly from its mounting.
Step4: Install the new PCB in place and secure with screws.
Step5: Restore power, and test the refrigerator functions for proper operation.