The store will not work correctly in the case when cookies are disabled.
We collect user information to provide a better user experience and protect the security of our website. By continuing to use our website, you acknowledge the use of cookies.
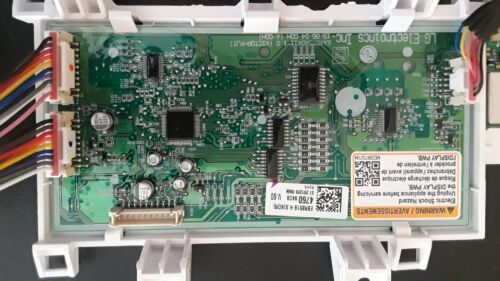
The LG EBR85194760 Washer Display PCB is responsible for the digital display and user interface to watch cycle settings, timers and status indicators on your washing machine. It receives signals from the main control board and displays information on the screen to help during the operation.
What maintenance is required for the LG EBR85194760 Power Control Board?
Regular maintenance includes keeping the washer conductions dry and free from dust to protect the control board. Ensure proper electrical connections and avoid power surges by using a stabilizer. Periodically inspect for loose wiring or moisture exposure. Always disconnect power before servicing for safety.
What are common issues with the LG EBR85194760 Power Control Board?
Washer not powering on or intermittent power failure.
Unresponsive or erratic control panel behavior.
Cycle interruptions or incorrect program execution.
Burnt components or visible damage on the board.
Failure to communicate with other internal washer components.
Installation Steps
Step1: Disconnect power of washer water supply to prevent electric shock.
Step2: Remove washer rear panel using screw driver and locate old control board.
Step3: Carefully disconnect wiring harnesses noting positions for reassembly.
Step4: Replace with new board with secure screws, and reconnect wires.
Step5: Restore power and test cycle; ensure no leaks or overheating.