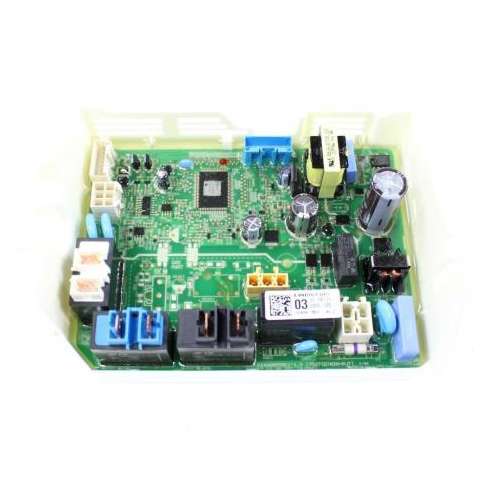
LG EBR85130503 Dryer Main PCB Control Board Assembly
Special Price
$267.66
Regular Price
$364.43
In stock
Available Quantity:
89
SKU
EBR85130503
Product Description
The LG EBR85130503 Dryer PCB Main Control Board Assembly controls the various operations such as heating, drying cycles, and speed of the motor and It controls the flow of signals between different parts of the dryer to enable them to function optimally. It does this by analyzing user preferences and feedback from the sensors, which makes it to perform well and give the same results each time it is used.
Manufacturer
