
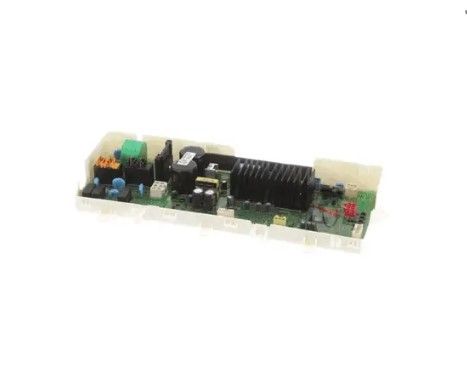
LG EBR81634303 Washer Main Control Board Assembly

Special Price $304.26 Regular Price $377.95
In stock
Available Quantity:   21
SKU
EBR81634303

Product Description

The LG EBR81634303 Washer PCB Main Control Board is responsible for controlling the cycles, water levels, and motor operations based on the commands and signals received from the user interface. It regulates communication between the different components to ensure that the wash is effective. It suggests and controls changes of output voltage and frequency depending on load amount and cycle chosen that raises efficiency and productivity.
Manufacturer

✓ This Product Replaces: EBR81634310
https://www.hnkparts.com/media/catalog/product/e/b/ebr81634303-32520.jpg

This Part Fits the Following Models (1)

Manufacturer Name: LGE
Product Number: EBR81634303
OEM Part Number: EBR81634303
Product Description: Pcb Assy-Main

Choose the best Home Appliance parts and supplies from HnKParts!

  • Same Day Shipping

  • Best Quality And Best Price

  • Wide Range of Inventory

  • Best Customer Service

Have More Questions or Need Help to Place The Order?
Reach us at (866)723-0907 or [email protected]

Write Your Own Review
You're reviewing:LG EBR81634303 Washer Main Control Board Assembly
Your Rating
Customer Questions
What maintenance is required for the LG EBR81634303 Main Control Board Assembly?

Regularly inspect the washer board for dust buildup and moisture exposure. Ensure wiring connections are secure and avoid spills near the control panel. Proper handling during installation and cleaning prevents short circuits and ensures safe, optimal operation.

What are common issues with the LG EBR81634303 Main Control Board Assembly?

  • Washer not starting or responding to controls.
  • Intermittent power or cycle failures.
  • Error codes appearing during operation.
  • Buttons or display panel malfunctioning.

Installation Steps

Step1: Unplug washer and turn off water use anti-static protection.

Step2: Remove panel, disconnect and label wiring from old board.

Step3: Install new board, secure screws, reconnect all connectors firmly.

Step4: Reassemble unit, restore power, and run a test cycle to confirm proper operation.