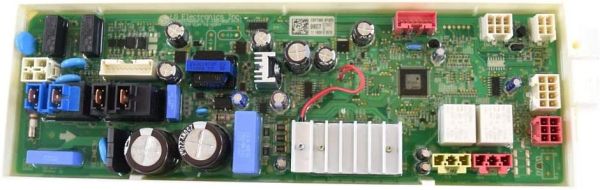
The LG EBR79609807 Dishwasher PCB Main Control Board Assembly is placed inside residential appliances to handle and direct all the functions. The board is part of the control panel and manages the user’s commands, controlling when each cycle begins. It functions by taking information from sensors and buttons and then sending electricity to the motor, valves and heating elements to carry out the wash, rinse and dry steps.
Please, mind that only logged in users can submit questions
Installation Steps
Step 1: The essential tools required for the repair task will be collected. A Phillips screwdriver, a flathead screwdriver, and needle nose pliers will be necessary.
Step 2: The LG EBR79609807 should be unplugged from all electrical sources and allowed to cool entirely before the repair is initiated.
Step 3: Every screw located on the back panel of the unit should be taken out using your Phillips screwdriver. The panel should be gently lifted away and placed aside.
Step 4: The PCB Assembly, Main should be carefully detached using the flathead screwdriver, and every wire linked to the board should be disconnected.
Step 5: The remaining screws that secure the board should be cautiously extracted using the needle nose pliers.
Step 6: Your new PCB Assembly, Main should be positioned in alignment with the slots and holes of the device. The screws should be gently inserted in their specified locations, ensuring they are tight.
Step 7: The wires should be reconnected to the board and it should be verified that all connections are secure.
Step 8: The back panel should be reattached and your Phillips screwdriver should be applied to fasten the screws in their original spots.
Step 9: The LG EBR79609807 should be reconnected to all power sources and switched back on.
Your repair has been successfully completed; enjoy your newly repaired LG EBR79609807!
Please remember, these instructions are served as general guidance and should always be referenced alongside the manufacturer's manual, if accessible.