The store will not work correctly in the case when cookies are disabled.
We collect user information to provide a better user experience and protect the security of our website. By continuing to use our website, you acknowledge the use of cookies.
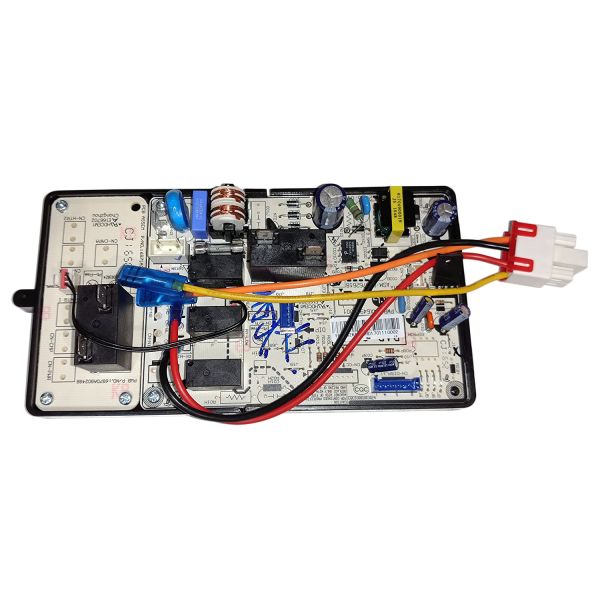
The LG EBR76261810 Air Conditioner Main Control Board Assembly is to control the operations for proper cooling of the system. It interprets the incoming signals to control the temperature, the speed of the fan and the compressor. In this way, it regulates power supply and control of the components to make stability and optimum energy consumption. Durability increases cooling efficiency, reduces the risks of failure, and increases the longevity of the unit.
What maintenance is required for the LG EBR76261810 Main Control Board Assembly?
Regularly inspect the Air Conditioner control board for dust, corrosion, or loose connections. Keep the surrounding area clean and dry to prevent short circuits. Ensure power is disconnected before servicing. Timely checks can avoid operational failures and ensure better operation.
What are common issues with the LG EBR76261810 Main Control Board Assembly?
Unit fails to start or respond to the thermostat.
Erratic fan or compressor operation.
Display errors or blinking indicator lights.
Board damage from voltage spikes or moisture exposure.
Installation Steps
Step1: Disconnect air conditioner power supply for safety.
Step2: Open control panel housing and remove old board.
Step3: Note wiring connections before detaching harnesses.
Step4: Install new board and secure mounting screws.
Step5: Reconnect wiring carefully to original positions.