The store will not work correctly in the case when cookies are disabled.
We collect user information to provide a better user experience and protect the security of our website. By continuing to use our website, you acknowledge the use of cookies.
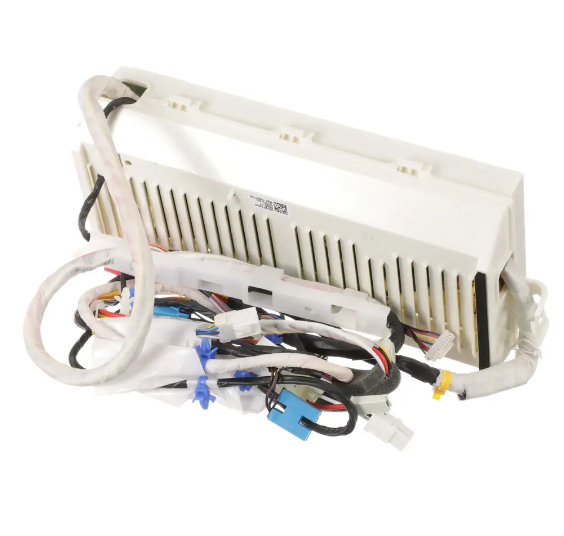
The LG EBR74282095 Washer Complex PCB Assembly is used to control the electronic operations of the machine including the motor, sensors, and cycles. It functions by taking instructions from the machine’s user interface and sending electrical impulses to the right areas, which are essential in the washing cycles. The advantages of this assembly are energy saving, a better definition of washing cycles, and increase in the longevity of the appliance.
What maintenance is required for the LG EBR74282095 Complex PCB Assembly?
Regularly inspect the PCB connections for secure seating and signs of moisture or corrosion. Clean the surrounding areas of lint and detergent residue. Test all washer cycles and settings to ensure proper response. Avoid exposing the board to water or excessive vibration during operation.
What are common issues with the LG EBR74282095 Complex PCB Assembly?
Washer cycles not starting properly.
Buttons or touchpad unresponsive.
Incorrect cycle times are displaying.
Washer stopping mid-cycle without warning.
Installation Steps
Step1: Unplug the washer and turn off the water supply for safety.
Step2: Remove the control panel to access the PCB.
Step3: Disconnect all wiring harnesses carefully and unscrew the old PCB.
Step4: Install the new PCB, reconnect wires correctly, and secure the panel.
Step5: Restore power and run a test cycle to confirm proper operation.