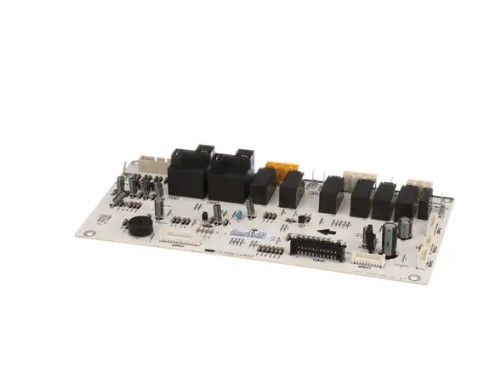
LG EBR73821007 Range Main Control Board PCB Assembly
Special Price
$308.06
Regular Price
$382.95
In stock
Available Quantity:
30
SKU
EBR73821007
Product Description
LG EBR73821007 Range PCB Main Control Board responsible for controlling the operation of the oven and its heating elements, timers, and temperatures. It operate by receiving signals from the user interface and controlling the power to the heating element, igniter, and fan depending on the set mode. These inputs are processed by the control board and provide efficient heating and cooking functions with better performance. This replacement part increases the durability of the range, optimizes the cooking process and increases the service life of the appliance due to precise control of its functions.
Manufacturer
