The store will not work correctly in the case when cookies are disabled.
We collect user information to provide a better user experience and protect the security of our website. By continuing to use our website, you acknowledge the use of cookies.
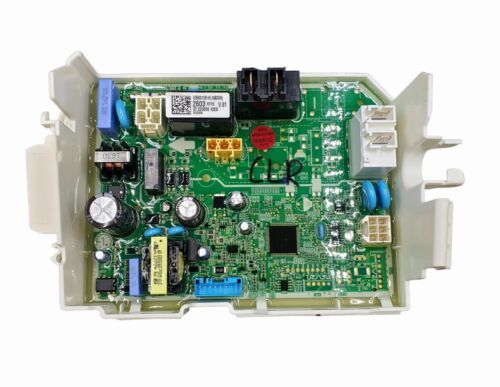
The LG EBR31002603 Dryer PCB Main Control Board controls and directs fundamental drying processes through the control of heat, time, and motor commands. It controls the selected settings by the user and allows for accurate control of the drying cycles. This board interacts with other parts of the component and controls heat and airflow for better performance. It also can monitor and control operational feedbacks such as heat issues and energy consumption. It is durable and improves performance by providing a steady drying effect that does not wear on other internal parts.
What maintenance is required for the LG EBR31002603 Main PCB?
Ensure the PCB area stays clean and free of lint, dust, or moisture. Inspect connectors and wiring for secure attachment. Avoid touching circuits with wet hands. Proper maintenance prevents electrical faults and ensures reliable dryer functionality.
What are common issues with the LG EBR31002603 Main PCB?
Dryer not powering on.
Heater not activating during cycles.
Timing or cycle settings incorrect.
Control panel stopping mid-cycle.
Installation Steps
Step1: Disconnect the dryer from the power source.
Step2: Remove the top or rear panel to access the main PCB.
Step3: Label and disconnect wiring connectors from the old board.
Step4: Unscrew and remove the faulty PCB.
Step5: Install the new PCB and secure it with screws.
Step6: Reconnect all wiring connectors carefully.
Step7: Reassemble the panel and run a short dryer cycle to test operation.