The store will not work correctly in the case when cookies are disabled.
We collect user information to provide a better user experience and protect the security of our website. By continuing to use our website, you acknowledge the use of cookies.
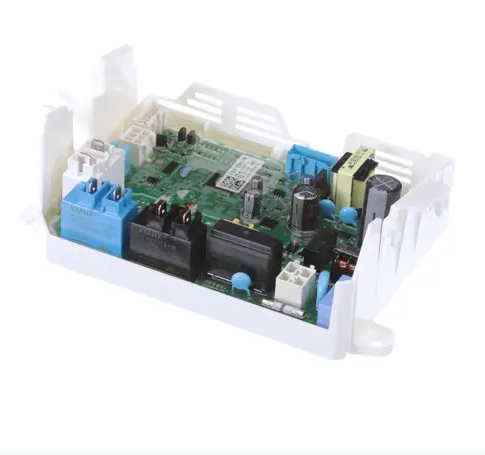
The LG EBR31002601 Dryer PCB Assembly is to regulate the operation of the dryer through temperature, motor speed, and sensors. It receives signals from different sensors, controls heating coils, and achieves the required drying efficiency. This component controls the flow of energy and prevents the system from overheating for normal and safe operation. Dependable circuit design increases the product’s longevity while at the same time improving its performance.
What maintenance is required for the LG EBR31002601 Main PCB Assembly?
Keep the area around the PCB clean and dry. Wipe external surfaces with a soft cloth. Ensure connectors are seated properly. Proper maintenance allows consistent cycle control and dryer operation without interruptions.
What are common issues with the LG EBR31002601 Main PCB Assembly?
Cycles not completing correctly.
Temperature settings are not responding.
Dryer stops unexpectedly during operation.
Program selection is inconsistent.
Installation Steps
Step1: Unplug the dryer to ensure safety.
Step2: Remove the control panel to access the main PCB.
Step3: Disconnect all wiring connectors from the old PCB carefully.
Step4: Install the new PCB, securing it with screws and reconnecting all wiring.
Step5: Restore power and run a test cycle to confirm proper operation.