Step 1: The washer is disconnected from the power source and the water supply to the appliance is shut off.
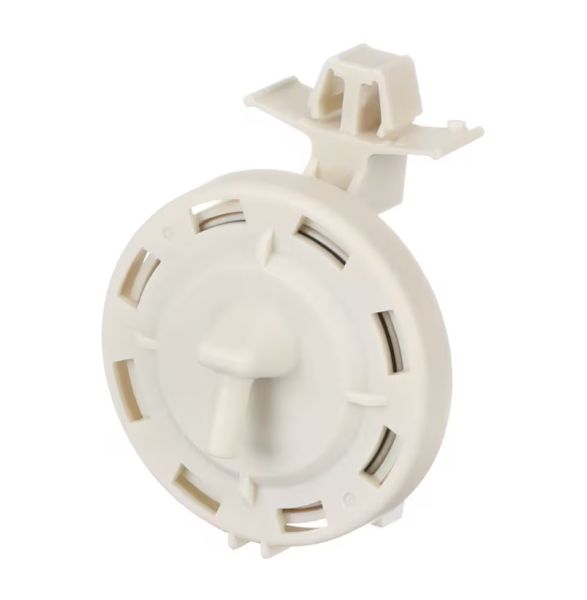
Step 2: The pressure switch is detached by removing the two wires from the existing switch. This can be achieved by loosening the screws that hold the wires at the top of the switch.
Step 3: The new pressure switch is positioned in the identical location and the wires are attached to the new switch in the same manner they were attached to the old one.
Step 4: It is ensured that the switch is firmly secured with the screws, and then the washer is reconnected to the power source.
Step 5: The water supply is restored and the water is allowed to flow for about a minute to confirm proper connection. If the water flows as expected, the installation is functioning correctly.
Step 6: If available, an ohmmeter is used to verify the switch's connection. The continuity must align with the manufacturer's specifications.
Step 7: The washer is activated and let to run through a complete cycle. If it operates correctly, the new pressure switch installation is complete.
Please note that these instructions are served as general guidance and should always be referenced alongside the manufacturer's manual, if accessible.