Step 1: The microwave should be disconnected from the electrical outlet. It should ensure that the unit is entirely powered off prior to initiating any repair work.
Step 2: The screws securing the top panel of the microwave should be taken out. This can be achieved using a Phillips-head screwdriver.
Step 3: The top panel should be removed and placed aside. Access to the microwave's internal components will now be gained.
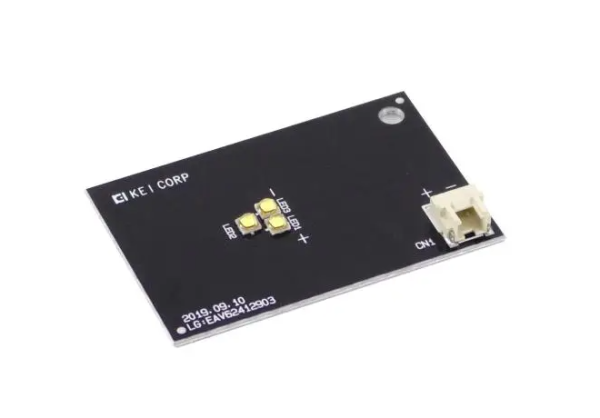
Step 4: The part number for the LED assembly should be located and it should be verified that the correct model is possessed. The part number should be visible on the label located at the rear of the assembly.
Step 5: The wires connected to the old LED assembly should be detached. It should be ensured to remember which wires correspond to each connection.
Step 6: The old LED assembly should be gently extracted and set aside.
Step 7: The new LED assembly should be positioned correctly. It should be verified that it is firmly secured in place.
Step 8: The wires should be reattached to the new assembly precisely as they were originally connected.
Step 9: The top panel should be reinstalled and fastened with the screws.
Step 10: The microwave should be reconnected to the power source and switched on. Your LED assembly has now been replaced.
Please remember that these instructions serve as general guidance and should always be utilized alongside the manufacturer's manual, if one is available.