Step 1: The appliance should be disconnected from the electrical supply. This can be achieved by either unplugging the cord from the wall socket or switching off the circuit breaker for the appliance.
Step 2: The flat-head screwdriver should be employed to take out the screws located at the back of the control panel.
Step 3: The front section of the control panel should be gently elevated to access the existing assembly knob.
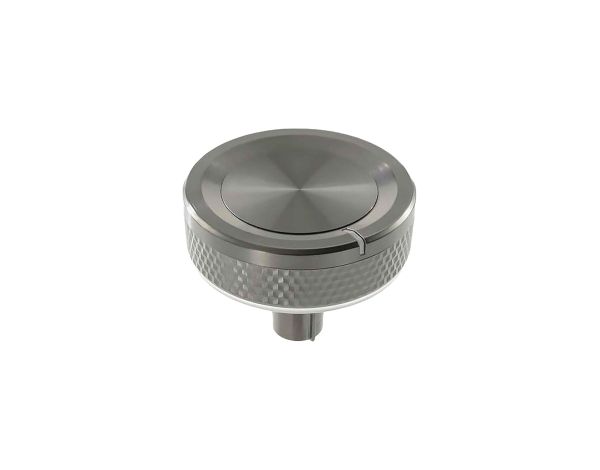
Step 4: The old assembly knob should be detached by pulling it away from the shaft.
Step 5: The new knob should be placed onto the shaft and proper alignment should be ensured so that the grooves fit into the notches on the knob.
Step 6: The new assembly knob should be fastened using the screws at the rear of the control panel and it should be verified that they are secure.
Step 7: Any additional components and screws that were taken out should be reinstalled.
Step 8: The appliance should be reconnected to the power source and the new assembly knob should be tested to confirm that it operates correctly.
Well done! The Samsung DG94-01856A assembly knob has been effectively replaced.
Please remember, these instructions are served as general advice and should always be utilized alongside the manufacturer's manual, if accessible.