The store will not work correctly in the case when cookies are disabled.
We collect user information to provide a better user experience and protect the security of our website. By continuing to use our website, you acknowledge the use of cookies.
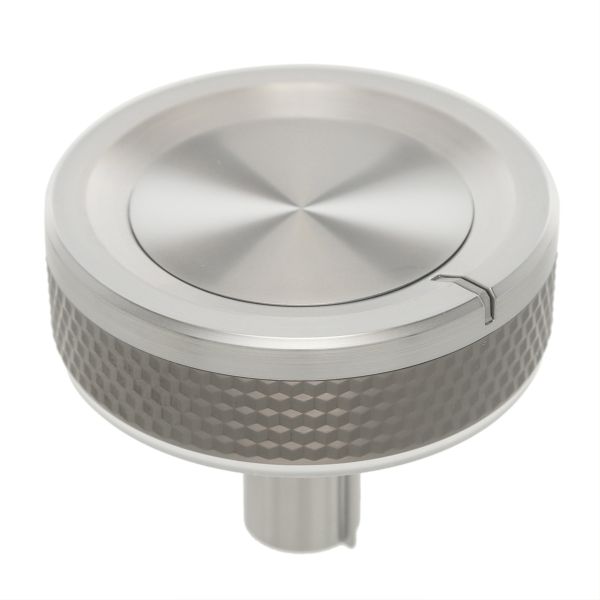
The Samsung DG94-01855A Range Knob Assembly helps in the regulation of the stove’s burners to make cooking safer and more convenient. This part is specifically compatible with select ranges and will ensure smooth operation of the temperature control. It works through a secure fitting on the burner valve stem to enable simple rotation for proper heat control. It is not easily damaged out and therefore can perform for a long time.
Step 1: Initially, the power supply to your appliance should be disconnected and it should be detached from the outlet. It should ensure that there is no potential for electric shock before you continue.
Step 2: Subsequently, the screws fastening the knob to the appliance's control panel should be taken out. Depending on your specific model, a Phillips head screwdriver may be required. The nut and washer securing the knob should be detached if needed.
Step 3: Gently, the old knob should be pulled off and any wires or connections associated with it should be observed. If alterations to the wiring are necessary, those should be proceeded with now.
Step 4: At this point, the new Samsung DG94-01855A KNOB ASSY should be taken and aligned with the existing hole. Any screws or nuts should be reattached as required.
Step 5: After everything is secured, the appliance should be reconnected and the power supply should be restored.
Step 6: Lastly, the functionality of the new knob should be verified to ensure it operates correctly.
Please remember that these instructions serve as general advice and should always be utilized alongside the manufacturer's manual, if accessible.