The store will not work correctly in the case when cookies are disabled.
We collect user information to provide a better user experience and protect the security of our website. By continuing to use our website, you acknowledge the use of cookies.
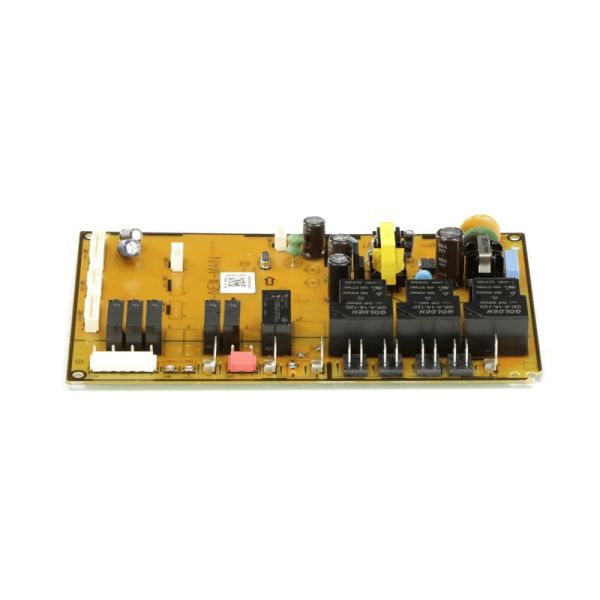
The Samsung DG92-01084A is a vital component for Samsung ranges, functioning as the main printed circuit board. Consider it as your range's intellect, which includes critical electronic parts which regulate multiple operations. A properly working PCB makes sure your range works smoothly, including regulating temperature settings to offering quick buttons and a comprehensive power supply. Nevertheless, an improperly functioning PCB may lead to an array of problems, including range mistakes, sluggish control panels, and sometimes total power failure. Fortunately, repairing an obsolete PCB with the Samsung DG92-01084A will reestablish your range's functionality and ensure it runs properly. It's important to recognize that updating the PCB yourself may appear enticing.
What maintenance is required for the Samsung DG92-01084A PCB Main Control Board?
Regularly inspect the range board for signs of corrosion, loose connections, or burnt components. Ensure the appliance is unplugged before any check. Keep the surrounding area clean and dry to prevent moisture damage and short circuits, which can affect performance.
What are common issues with the Samsung DG92-01084A PCB Main Control Board?
Erratic temperature control or display errors.
Oven or burner not responding to inputs.
Appliance cycles on and off unexpectedly.
Failure to activate specific operations.
Installation Steps
Step1: Disconnect range power supply and gas line.
Step2: Remove rear panel of range carefully.
Step3: Note wiring connections and note.
Step4: Unplug old board and remove mounting screws.
Step5: Install new board and reconnect wires.
Step6: Reassemble panel and restore power; test operation.