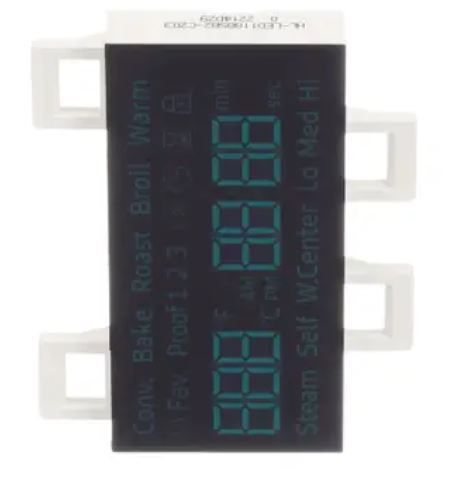
The Samsung DG07-01005A Range Display Board is designed to show the cooking settings and the current status of the appliance. It receives user inputs, interprets them into commands, and interacts with the internal parts for effective temperature regulation. The board constantly checks for feedback in the system to ensure that the cooking system is functioning effectively and does not develop any problems. It improves cooking accuracy and makes it easier to use with the help of a digital display.
Step 1: Power to the range should be disconnected. Prior to initiating any tasks on the range, it should ensure that the power is turned off. The power button situated near the display panel should be identified and deactivated.
Step 2: The current display panel should be taken off. To detach the display panel, first, the screws located both at the top and bottom of the unit should be loosened. Afterwards, the panel should be pulled away from the mounting bracket.
Step 3: The harness connector should be unplugged. After the panel is freed, the harness connector located at the rear can be unplugged. The connector should be disconnected and then drawn away.
Step 4: The new display panel should be positioned. Now, it is time for the new display panel to be set in place. The harness connector at the rear of the panel should be connected. It should ensure that the connection is firm. Next, the panel should be slid back into the mounting bracket and the screws at the top and bottom should be secured.
Step 5: The display panel should be verified. The power to the range should be activated and it should be confirmed that the display panel functions correctly. The temperature, cooking settings, and timer settings should be adjusted to ensure all features operate as intended.
Please remember, these instructions serve as general guidance and should always be utilized alongside the manufacturer's manual, if accessible.