The store will not work correctly in the case when cookies are disabled.
We collect user information to provide a better user experience and protect the security of our website. By continuing to use our website, you acknowledge the use of cookies.
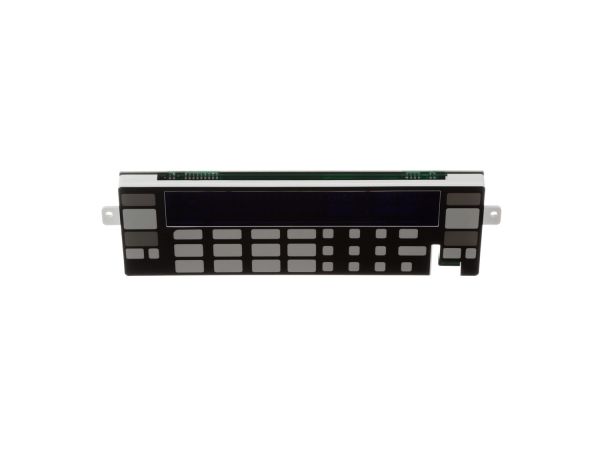
The Samsung DE96-01050A Microwave Display Assembly is an essential component for displaying critical information during microwave operation. Usually, it is made up of a screen and related circuits that display different information like the clock, power level, and cooking time. It would be difficult for users to use the microwave efficiently and might result in overcooked or undercooked food if the display did not function. Users would not be able to view important information such as the amount of cooking time left or the power level that has been chosen. These crucial details may be seen again by replacing a malfunctioning display assembly with the Samsung DE96-01050A, guaranteeing a flawless and educational cooking experience.
What maintenance is required for the Samsung DE96-01050A Display Control Board?
Ensure the range control board place remains clean, dry, and free from dust or grease buildup. Periodically inspect connectors for secure attachment and signs of corrosion. Avoid exposure to moisture and power surges by maintaining proper grounding and using surge protection to prevent electrical damage.
What are common issues with the Samsung DE96-01050A Display Control Board?
Unresponsive or blank display.
Flickering or dim display indicators.
Incorrect temperature or setting readings.
Faulty button input or delayed response.
Communication errors between interface and main control system.
Installation Steps
Step1: Disconnect power range at the control board to secure against electric shock; remove the range rear access panel.
Step2: Remove wiring connections and label each connector for correct reassembly.
Step3: Carefully remove the old faulty control board and transfer connectors to the new board in same orientation.
Step4: Mount the replacement new board securely, ensuring insulation is properly seated and no loose wires remain.
Step5: Reassemble panel, restore power, and test display functionality; keep hands dry for safety.