The store will not work correctly in the case when cookies are disabled.
We collect user information to provide a better user experience and protect the security of our website. By continuing to use our website, you acknowledge the use of cookies.
Observance of Independence day July 4th we are closed [No shipping's and deliveries ] on 07/03/2026, Orders received after 3.00pm CST on 07/02/2026 will be shipping out on Monday 07/06/2026
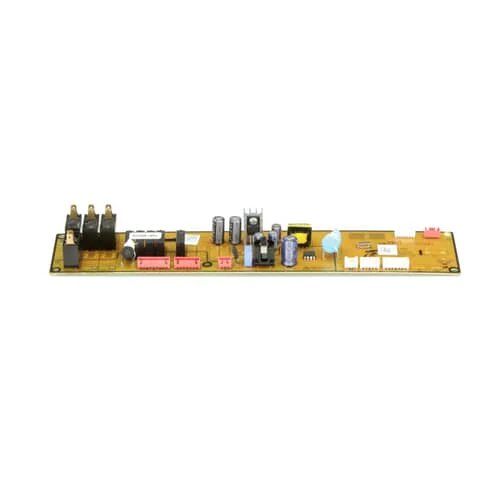
The Samsung DE92-03729P Microwave PCB serves as the brain of your Samsung microwave oven. All of its activities, including power levels, cooking times, and display functions, are controlled by the central circuit board. It directs each member of the ensemble to play their role in unison, much like a conductor in an orchestra. The smooth and effective operation of your microwave is guaranteed by a healthy DE92-03729P PCB. Your button presses become commands, and it does the translating to make sure the right amount of electricity is given for precisely reheated food or popcorn. It carefully regulates cooking times to avoid undercooked or burned food. Additionally, it updates the display, telling you how much time is left or the selected settings.
What maintenance is required for the Samsung DE92-03729P Main Control Board?
Observe startup actions to ensure the control board initializes without delay. Verify keypad commands correspond correctly to cooking functions. Keep ventilation pathways clear around the control housing, and disconnect power before accessing internal electronic components.
What are common issues with the Samsung DE92-03729P Main Control Board?
Display is not responding to input.
Cooking time resetting unexpectedly.
Functions are activating incorrectly.
Unit shutting down mid-cycle.
Installation Steps
Step1: Disconnect the microwave from its power source.
Step2: Remove the outer cover to access internal components.
Step3: Locate and disconnect wires from the control board.
Step4: Unscrew and remove the existing board carefully.
Step5: Install the new board and reconnect all wiring.
Step6: Reassemble the cover and restore power to test functions.