The store will not work correctly in the case when cookies are disabled.
We collect user information to provide a better user experience and protect the security of our website. By continuing to use our website, you acknowledge the use of cookies.
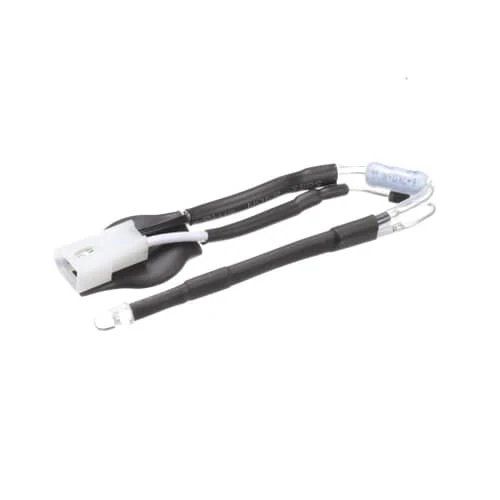
The Samsung DE81-08324A Range SVC Service Kit LED is a replacement kit that includes Light light-emitting diodes made exclusively for Samsung ranges. By illuminating the oven cavity, these LEDs enhance vision during cooking. Using this servicing kit to replace dim or malfunctioning LEDs will greatly improve the look and feel of your Samsung range. With raised vision inside the oven, you can keep a closer eye on your food while it cooks and make sure it's done enough to avoid burning or undercooking. Furthermore, you can give your Samsung range a brighter, more visually appealing look by replacing dim or flickering LEDs with this kit, which will improve the range's overall appearance.
Step 1: Prior to commencing the repair, it should ensure that the Samsung DE81-08324A SVC-SERVICE KIT LED TV is powered off and unplugged for safety.
Step 2: The back cover of the TV should be detached by utilizing a screwdriver to gain access to its internal components.
Step 3: Any defective or malfunctioning parts, including the controller boards, power supply, etc., should be diligently identified and extracted, if present.
Step 4: The cables linked to the part that requires replacement should be unplugged.
Step 5: The new part should be positioned in the location of the old component, ensuring that all cables are secured in their original arrangement.
Step 6: The back cover of the TV should be reattached and it should be plugged back in.
Step 7: The TV should be powered on and testing of the new part should be initiated, verifying its proper functionality.
Step 8: Following testing, any components that may have sustained damage during the repair process should be substituted.
Step 9: The remaining elements should be reconstructed and all screws should be firmly tightened.
Step 10: Lastly, the entire repair should be inspected to confirm there are no loose screws or other issues prior to operating the TV.
It is essential to note that these instructions serve as general guidance and should always be referenced alongside the manufacturer's manual, if accessible.