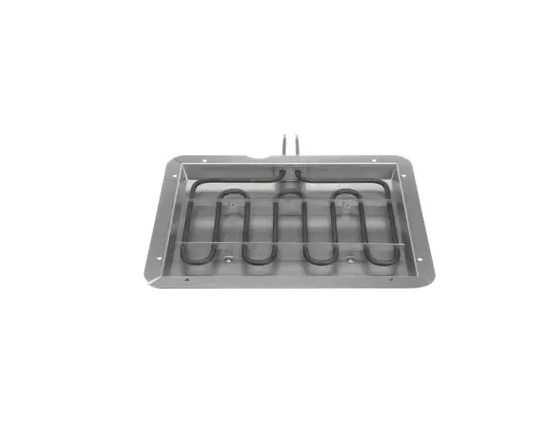
Samsung DE81-07354A Range SVC 3100W Broiler
Special Price
$165.51
Regular Price
$212.95
Out of stock
Available Quantity:
0
SKU
DE81-07354A
Product Description
The Samsung DE81-07354A Range SVC 3100W Broiler cooks and browns the food from above through heat that is ideal for grilling, toasting or broiling meats, vegetables, and even desserts. The heat is powerful enough to cook the food through and evenly at the same time saving time and giving the food a crispy finish. From a simple browning to a long, slow roast, this broiler is the better when it comes to quality and efficiency.
Manufacturer

✓ This Product Replaces:
700713