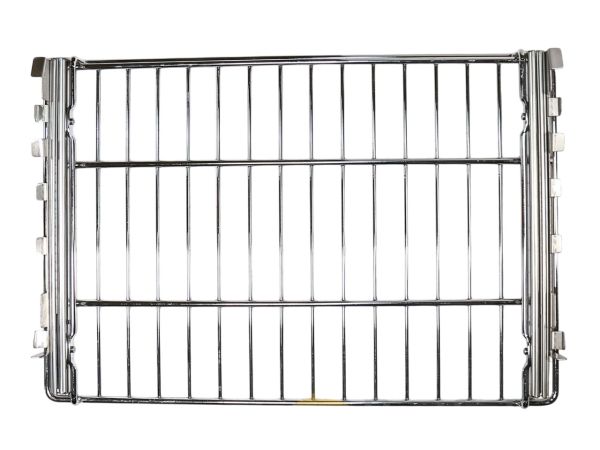
Samsung DE81-06247A Range SVC 30" Glide Rack
Special Price
$276.41
Regular Price
$346.95
In stock
Available Quantity:
1
SKU
DE81-06247A
Product Description
The Samsung DE81-06247A Range SVC 30” Glide Rack with a smooth glide feature to enable users to access food in their oven without struggling to lift the racks. The glide system provides a firm grip when pulling the rack in and out making it suitable for roasting, baking or broiling. It reduces the chances of spilling hot food, which enhances safety and convenience in the process.
Manufacturer

✓ This Product Replaces:
DE81-07982A