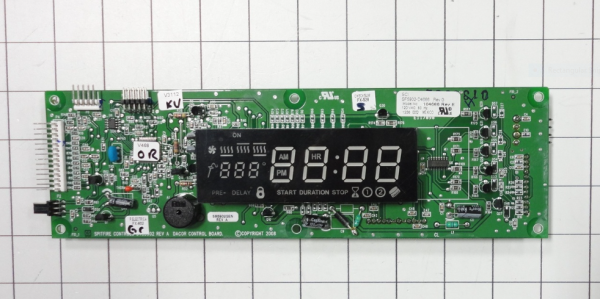
The Samsung DE81-03692A Wall Oven Single LED SVC Display Module is mounted on the control panel of an oven and is used to visually display temperature settings, timer functions and operation status using an LED interface. This element works as the primary visual feedback system when using the oven. It works by taking electronic signals from the control board of the oven and interpreting the commands into readable digital outputs on the screen.
Please, mind that only logged in users can submit questions
Installation Steps
Step 1: The required tools and materials should be assembled prior to initiating the replacement of the Samsung DE81-03692A SVC-DISPLAY MODULE LED SNGL. This involves a Phillips screwdriver, tweezers, a replacement LED SNGL module, and protective eyewear.
Step 2: The power supply to the display should be cut off before beginning the repair. For enhanced safety, it should ensure that the device is completely unplugged.
Step 3: The screws located at the rear of the display should be gently extracted with the Phillips screwdriver. A record of the screw count and their positions should be kept.
Step 4: The defective LED SNGL module on the circuit board should be identified and the tweezers should be utilized to delicately detach it from the board.
Step 5: The new LED SNGL module should be placed into position, ensuring it is properly connected.
Step 6: The back panel should be reattached using its screws, confirming that the screws are secured tightly.
Step 7: The power should be plugged back in and the display should be activated.
Step 8: The display should be verified to confirm that the replacement was executed successfully.
Please remember, these instructions should serve as general guidance and should always be utilized alongside the manufacturer's manual, if accessible.