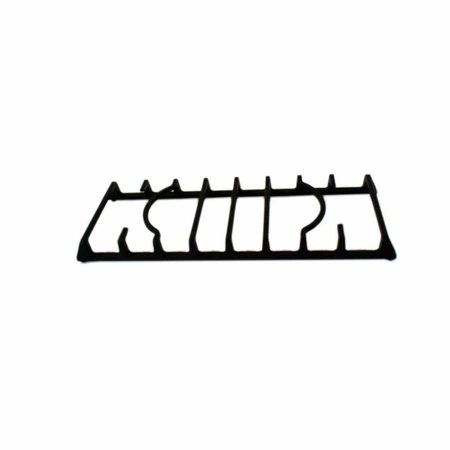
Samsung DE81-02313A Range SVC Burner Grate
Special Price
$185.61
Regular Price
$240.95
In stock
Available Quantity:
77
SKU
DE81-02313A
Product Description
The Samsung DE81-02313A service grate is an authentic replacement grate made for Samsung ranges. It provides stability and uniform heat distribution when cooking by serving as a strong base for your cookware. This important part keeps your pots and pans from swaying or toppling, which is necessary for well-cooked meals. The DE81-02313A SVC Grate is made of sturdy stainless steel and is designed to handle regular use demands. Its low-profile design also makes cleaning simple, which makes it an economical and useful option for cooktop maintenance. You can be certain that your range will work with it and get the best possible performance for all of your cooking projects if you use an authentic Samsung SVC Grate.
Manufacturer

✓ This Product Replaces:
101524, 101524MB, DE81-09251A