
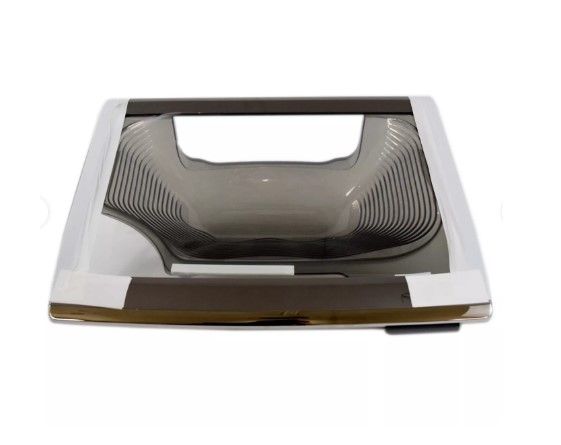
Samsung DC97-18845P Washer Top Cover Lid Assembly

Special Price $231.98 Regular Price $318.24
Out of stock
Available Quantity:   0
SKU
DC97-18845P
✓ This Product Replaces: DC97-18845A

Product Description

The Samsung DC97-18845P Washer Top Cover Lid Assembly is designed to open and close smoothly gives easy access to the drum. It protects the washer from water leakage and external contaminants. The strength of the material used in constructing the appliance make it durable and the fit of the appliance also helps in maintaining the structure of the appliance. Its sleek design also makes it more efficient in washing clothes because it produces little noise and vibration during the cycles.
Manufacturer

https://www.hnkparts.com/media/catalog/product/d/c/dc97-18845p-52582.jpg
Manufacturer Name: Samsung
Product Number: DC97-18845P
OEM Part Number: DC97-18845P
Product Description: Lid-T.C Assy

Choose the best Home Appliance parts and supplies from HnKParts!

  • Same Day Shipping

  • Best Quality And Best Price

  • Wide Range of Inventory

  • Best Customer Service

Have More Questions or Need Help to Place The Order?
Reach us at (866)723-0907 or [email protected]

Write Your Own Review
You're reviewing:Samsung DC97-18845P Washer Top Cover Lid Assembly
Your Rating
Customer Questions
What maintenance is required for the Samsung DC97-18845P Top Cover Lid Assembly?

Regularly clean the lid assembly with a damp cloth to remove detergent residue and debris. Ensure the hinges and latch are free from obstructions. Proper maintenance prevents misalignment and ensures smooth operation, reducing the risk of damage or jamming during washer use.

What are common issues with the Samsung DC97-18845P Top Cover Lid Assembly?

  • Lid not closing properly.
  • Hinge squeaking or sticking.
  • Latch failing to connect.
  • Cracks or warping of the lid surface.

Installation Steps

Step1: Disconnect washer from power and water supply.

Step2: Remove screws securing old top cover lid.

Step3: Carefully lift and disconnect hinge or wiring harness.

Step4: Align new lid assembly with mounting points and reconnect harness.

Step5: Secure screws tightly and test lid operation before restoring power.

Step6: Ensure washer is stable on level surface during installation.

Step7: Wear protective gloves to avoid sharp edges and injury.