The store will not work correctly in the case when cookies are disabled.
We collect user information to provide a better user experience and protect the security of our website. By continuing to use our website, you acknowledge the use of cookies.
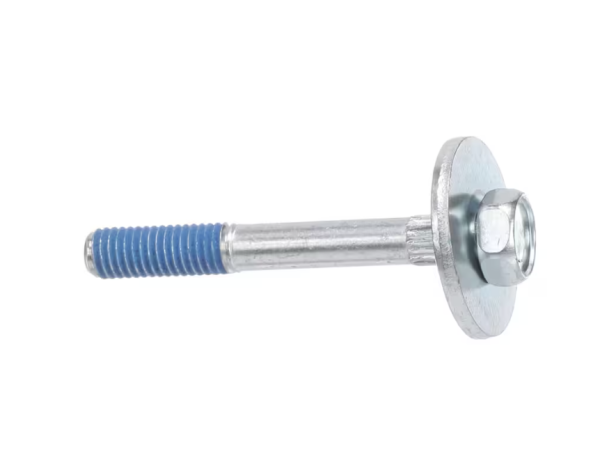
The Samsung DC97-02412A Washer Bolt Assembly is used to fix washing appliances in place to reduce movement and vibration during use and by fastening parts like the drum, and outer tub to the washer frame to ensure correct positioning and also increases the stability of the appliance and also minimizes noise and damages during washing cycles hence increasing the efficiency of the appliance and has a better operation and durability of the washer, avoiding possible damage from movement.
What maintenance is required for the Samsung DC97-02412A Bolt Assembly?
Regularly inspect the bolt assembly for tightness and signs of corrosion. Clean surrounding areas to prevent buildup of detergent or debris. Always unplug the washer before performing checks. Replace any damaged bolts promptly to maintain secure operation.
What are common issues with the Samsung DC97-02412A Bolt Assembly?
Bolt loosens during high-speed spin cycles.
Washer drum produces a knocking noise.
Bolt threads are damaged with repeated tightening.
Mounting bolt fails to hold drum securely.
Installation Steps
Step1: Turn off the washer and unplug it.
Step2: Remove the washer access panel to reach the old bolt assembly.
Step3: Unscrew and remove the old bolts carefully.
Step4: Insert and align the new bolt assembly.
Step5: Tighten all screws securely to prevent leaks or misalignment.
Step6: Reassemble the access panel and restore power.
Step7: Run a short cycle to confirm proper installation.