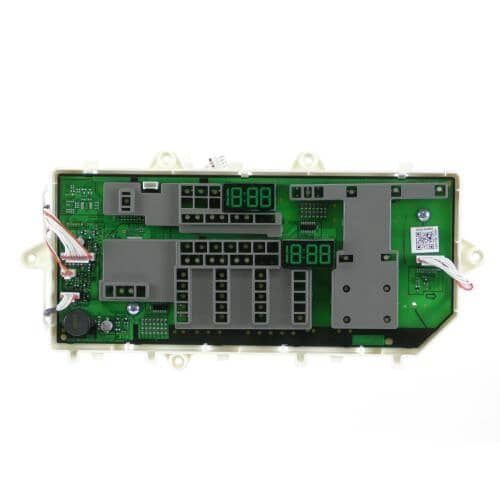
Samsung DC92-01995A Dryer Electronic Control Board & Display Assembly
Special Price
$189.05
Regular Price
$238.64
In stock
Available Quantity:
15
SKU
DC92-01995A
Product Description
The Samsung DC92-01995A Electronic Control Board & Display Assembly is used to control and manage various operations of the dryer. Work by handling inputs and the control of drying cycles. Receives signals from sensors, control temperature and time, and displays the cycle information on the digital panel. Provides the ability to control the drying process effectively, avoid over-drying, and achieve uniform drying.
Manufacturer
