The store will not work correctly in the case when cookies are disabled.
We collect user information to provide a better user experience and protect the security of our website. By continuing to use our website, you acknowledge the use of cookies.
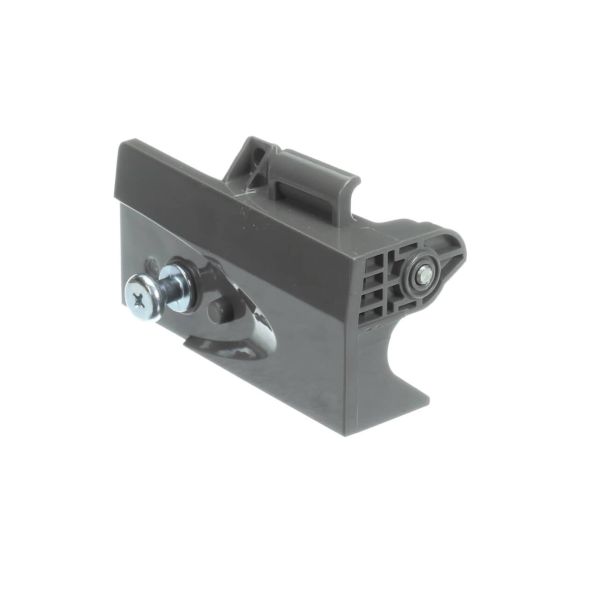
The Samsung DA97-11912L Refrigerator Freezer Cap Handle-Sub Left is designed to provide a better grip to enable operations of the freezer door. It fixes well to the door so that it can be easily opened and closed. This makes it easier to handle during usage as it is not easily deformed when used frequently making it sturdy.
What maintenance is required for the Samsung DA97-11912L Sub Cap Handle?
Regularly inspect the refrigerator cap handle for cracks or looseness and ensure it is securely attached. Clean it with a mild detergent to prevent buildup of grime. Proper maintenance ensures smooth operation and prevents handle damage. Avoid excessive force when opening doors to reduce pressure on the component.
What are common issues with the Samsung DA97-11912L Sub Cap Handle?
Handle cap becoming loose or detaching from the door.
Cracking or wear due to repeated use.
Misalignment affecting door grip.
Difficulty securing the cap properly.
Installation Steps
Step1: Unplug refrigerator power and ensure hands are dry to avoid electric shock.
Step2: Open freezer door and locate the left-side cap handle cover area.
Step3: Use a plastic pry tool to gently remove the old cap, avoiding scratches.
Step4: Align the new replacement cap with mounting points.
Step5: Press and secure screws or clips until firmly seated.
Step6: Restore power and test handle movement for stability.