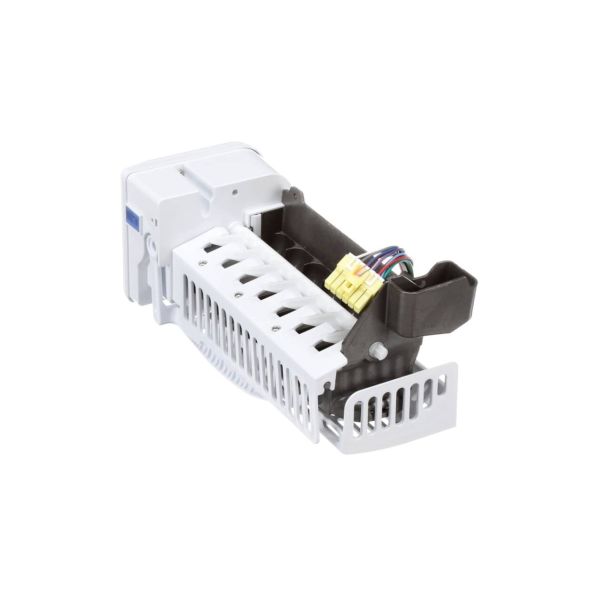
Samsung DA97-11092B Refrigerator Ice Maker Assembly
Special Price
$185.11
Regular Price
$241.20
In stock
Available Quantity:
421
SKU
DA97-11092B
Product Description
The Samsung DA97-11092B Refrigerator Ice Maker Assembly functions through the use of a motor to turn the ice mold and water is poured in the mold to form ice cubes. After this, the ice is then tipped into the storage bin for easy access once it has been frozen. This ice maker is used to save time and effort to a better extent and provides a constant supply of ice for necessity.
Manufacturer
