
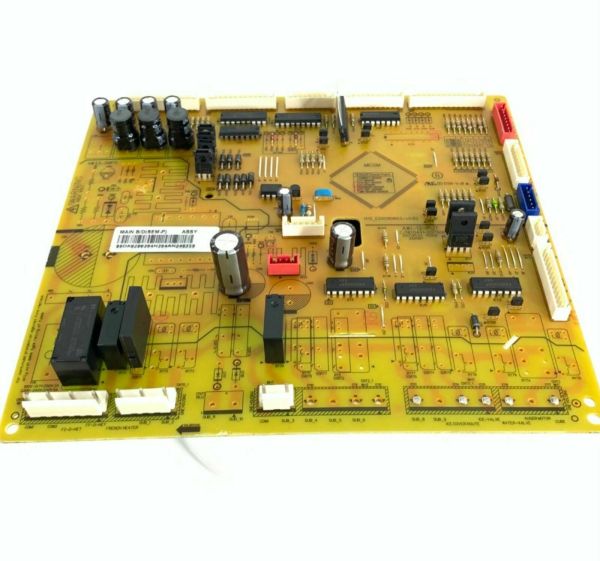
Samsung DA92-00384N Refrigerator LED Touch Main PCB

Special Price $180.10 Regular Price $233.95
In stock
Available Quantity:   83
SKU
DA92-00384N

Product Description

The Samsung DA92-00384N PCB Main LED Touch is responsible for controlling the cooling and lighting system of the refrigerator. This component receives signals from the refrigerator’s sensors and controls temperature and display of information. It links different internal components, and through its touch screen, it controls the electrical operations of the refrigerator. The touch interface is efficient for control, as it allows for the change of settings within a short time. Advantages include increased energy conservation, better control of cooling and better user interface, which means that the appliance will work properly for a long time.
Manufacturer

https://www.hnkparts.com/media/catalog/product/d/a/da92-00384n_smg_hnkparts.png
Manufacturer Name: Samsung
Product Number: DA92-00384N
OEM Part Number: DA92-00384N
Product Description: Pcb Main-Led Touch

Choose the best Home Appliance parts and supplies from HnKParts!

  • Same Day Shipping

  • Best Quality And Best Price

  • Wide Range of Inventory

  • Best Customer Service

Have More Questions or Need Help to Place The Order?
Reach us at (866)723-0907 or [email protected]

Write Your Own Review
You're reviewing:Samsung DA92-00384N Refrigerator LED Touch Main PCB
Your Rating
Customer Questions
What maintenance is required for the Samsung DA92-00384N LED Touch Main PCB?

Regularly inspect the refrigerator PCB for dust or moisture buildup and gently clean with a dry, anti-static cloth. Ensure all connectors are secure and avoid spilling liquids. Proper maintenance prevents malfunction and maintains responsive touch operationality.

What are common issues with the Samsung DA92-00384N LED Touch Main PCB?

  • Unresponsive touch controls.
  • Erratic temperature display.
  • Failure to control fridge operations.
  • LED panel flickering or not lighting up.

Installation Steps

Step1: Unplug refrigerator and access rear or top control compartment.

Step2: Remove cover panel securing LED touch PCB assembly.

Step3: Disconnect wiring harnesses, noting connector orientation for reassembly.

Step4: Release retaining clips and lift out the faulty control board.

Step5: Install new PCB, ensuring correct seating on mounts.

Step6: Reconnect all plugs, reinstall cover, and restore power for operate test.