The store will not work correctly in the case when cookies are disabled.
We collect user information to provide a better user experience and protect the security of our website. By continuing to use our website, you acknowledge the use of cookies.
Observance of Independence day July 4th we are closed [No shipping's and deliveries ] on 07/03/2026, Orders received after 3.00pm CST on 07/02/2026 will be shipping out on Monday 07/06/2026
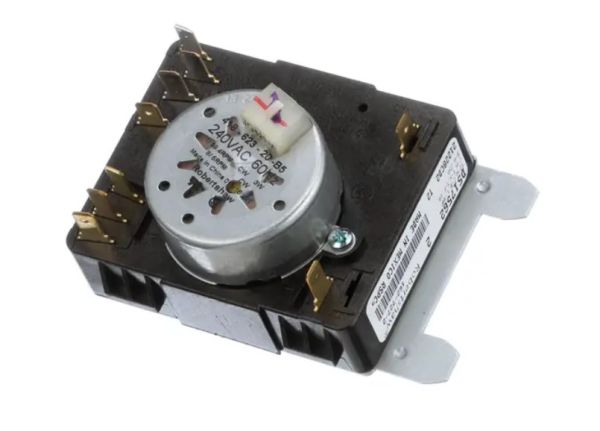
The Speed Queen D517562 Dryer 4 Cycle Timer is used for regulating the drying cycles and is equipped with a 240V, 60Hz timer that controls the time of the drying process and is designed to enhance the performance of the dryer by advancing through four different cycles, changing the heat and drying time to achieve the better results. Consistent timing helps avoid over-drying, improves the drying process, and ensures that the clothes are evenly dried.
The Speed Queen Dryer Timer 4 Cycle 240V 60HZ D517562 is the pinnacle of reliability and effectiveness in the washing appliance industry. This dryer timer, designed with attention to detail and high-quality components, offers smooth operation and exact timing for your laundry needs. With four separate cycles, it is adaptable to a variety of material types and drying preferences. This dryer timer is suitable for delicate textiles requiring tactile comfort as well as heavy-duty loads that require strong drying. The 240V 60HZ power input provides adequate power for efficient drying, while the intuitive user interface allows for simple cycle selection and modification. The D517562 model was designed with the customer and promises durability for a lifetime. The strong structure guarantees longevity and is a trusted companion in any laundry room.
Key features of Speed Queen Dryer Timer 4 Cycle 240V 60HZ D517562
Four-Cycle Timer: Allows for easy selection of drying cycles, including regular, permanent press, delicate, and air fluff.
240V Compatibility: Designed to work with 240-volt electrical systems for efficient and powerful drying performance.
Precise Timing: Ensures accurate timing for each selected drying cycle, optimizing drying results.
Easy Installation: Straightforward installation process for seamless integration into compatible Speed Queen dryers.
What maintenance is required for the Speed Queen D517562 Timer?
Clean the timer knob and panel area with a soft cloth to remove lint or dust. Ensure the dial rotates smoothly between settings. Proper care helps maintain accurate cycle timing and dryer operation.
What are common issues with the Speed Queen D517562 Timer?
Timer dial fails to proceed during cycles.
Cycle durations end earlier than selected.
Timer skips certain drying stages.
Dial rotates without selecting settings.
Installation Steps
Step1: Unplug the dryer to ensure safety.
Step2: Disconnect all wiring connectors from the old timer carefully.
Step3: Unscrew and remove the old timer from its mounting.
Step4: Install the new timer, reconnect all wires securely, and fasten screws.
Step5: Restore power, and test all dryer cycles for proper operation.