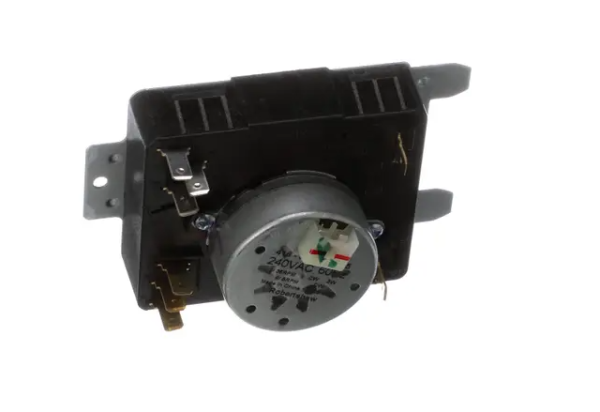
Speed Queen D517559 Dryer 3-Cycle Timer 60Hz 240Volts
Special Price
$64.92
Regular Price
$78.95
In stock
Available Quantity:
17
SKU
D517559
Product Description
The Speed Queen D517559 Dryer 3-Cycle Timer 60Hz 240 Volts is an electromechanical control unit that manages the order, and the length of appliance cycles. Its function is to control the choice of cycle timing, and start transitions between heating, tumbling, and cool-down modes depending on the user settings. The timer operates by moving internal contacts with the rotation of the dial and making or breaking circuits to downstream components in connection with the programmed cycle. It is positioned in the control panel of the dryer and attached to the mounting bracket.
Manufacturer
