Speed Queen D513710 Dryer Glide Cylinder Rulon
$8.64
In stock
Available Quantity:
279
SKU
D513710
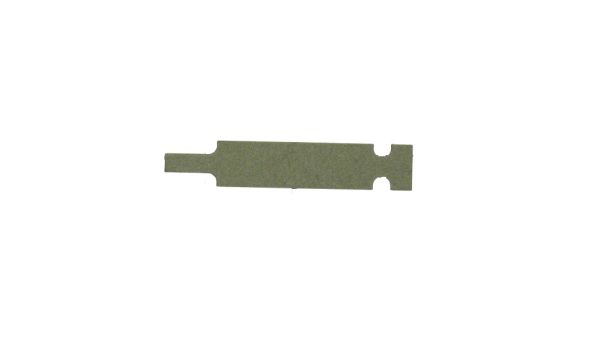
Product Description
The Speed Queen D513710 Dryer Glide Cylinder Rulon is a drum support component that maintains proper rotor alignment and ensures smooth rotation throughout operations. Installed along the front support area of the drum assembly, it provides a low-friction surface that reduces contact between moving parts while maintaining proper drum alignment within the dryer system to support consistent tumbling movement and stable movement as clothes are dried. This glide reduces friction between the drum and its support surfaces, contributing to smooth mechanical movement throughout the drying cycle.
Manufacturer

✓ This Product Replaces:
503452, 510187, 510161P, 510188, 513710, D510161P