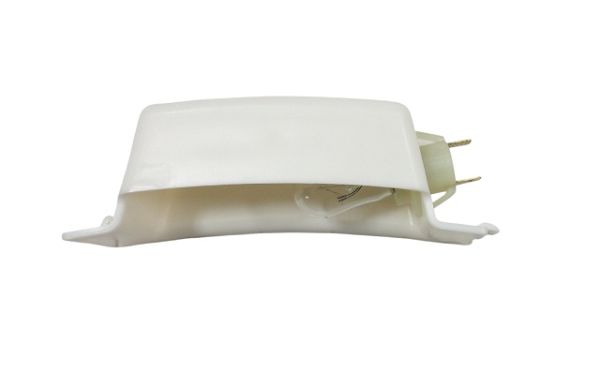
Speed Queen D512108 Dryer Light Housing 120V
Special Price
$24.14
Regular Price
$24.86
In stock
Available Quantity:
10
SKU
D512108
Product Description
ASSY LIGHT HOUSING 120V
Manufacturer

✓ This Product Replaces:
504452, 504452, 512108