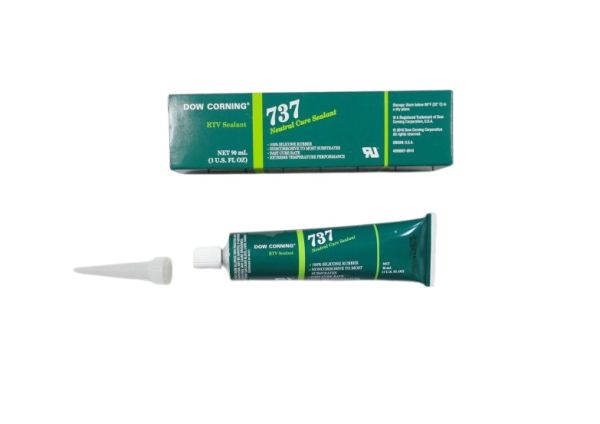
Speed Queen D511637P Washer/Dryer Adhesive Dow SIS 737
Special Price
$46.53
Regular Price
$47.95
In stock
Available Quantity:
11
SKU
D511637P
Product Description
ADHESIVE, DOW 737 CLR 3 OZ NS
Manufacturer

✓ This Product Replaces:
511637, 511637P