Speed Queen D510207P Dryer Seal Cylinder W/Filler & Instructions
$32.59
In stock
Available Quantity:
293
SKU
D510207P
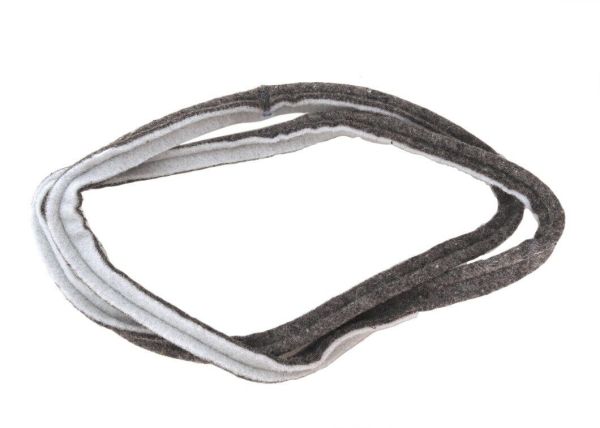
Product Description
The Speed Queen D510207P Dryer Cylinder Seal with Filler & Instructions prevents air leakage and minimizes the rubbing of the rotating drum and the cabinet structure in a system. It is mounted around the circumference of the drum or the cylinder interface in the dryer cabinet between the edge of the drum. It is a sealing strip with a filler object for the purpose of consistent contact and alignment. It keeps the airflow and drum rotation efficient during the drying cycle, allowing the dryer to function normally.
Manufacturer

✓ This Product Replaces:
510207P, 500006, 50006, 501801, 510207P