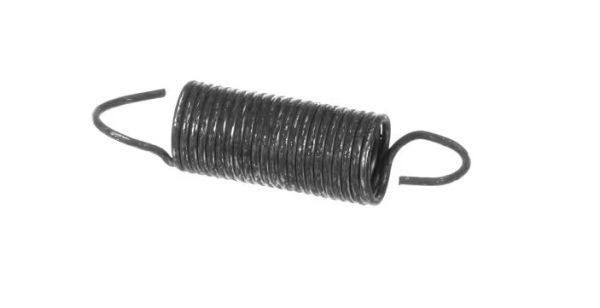
Speed Queen D510185 Dryer Idler Spring
$3.00
In stock
Available Quantity:
23
SKU
D510185
Product Description
SPRING IDLER
Manufacturer

✓ This Product Replaces:
510185