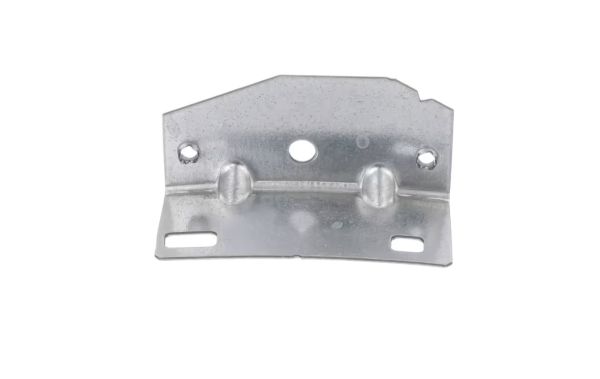
Speed Queen D510145 Dryer Bracket Cylinder Glide
$14.38
In stock
Available Quantity:
56
SKU
D510145
Product Description
The Speed Queen D510145 Dryer Bracket Cylinder Glide supports the drum glide assembly by maintaining positioning and alignment of drum-contact components during rotation. Positioned within the drum support structure, it interfaces with adjoining glide elements and mounting sections to stabilize the contact area between moving assembly. Its configuration maintains proper placement of the glide arrangement while accommodating repeated drum movement throughout operation. By supporting coordinated connection within the drum support system and preserving alignment of connected components, it provide to stable drum rotation and supports drying cycles.
Manufacturer

✓ This Product Replaces:
510145